> For the complete documentation index, see [llms.txt](https://stader.gitbook.io/stader/llms.txt). Markdown versions of documentation pages are available by appending `.md` to page URLs; this page is available as [Markdown](https://stader.gitbook.io/stader/sd-utility-pool/sd-delegation/delegate-sd.md).
# Delegate SD
The SD Utility Pool offers a user-friendly interface for SD holders to conveniently delegate their SD to the Pool. Delegate your SD here
### **Delegation limit for each delegator**
* Minimum: 1 SD
* Maximum: No Limit
### **How to Delegate SD?**
**Step 1:** Go to and click on the “**Connect Wallet**” button.
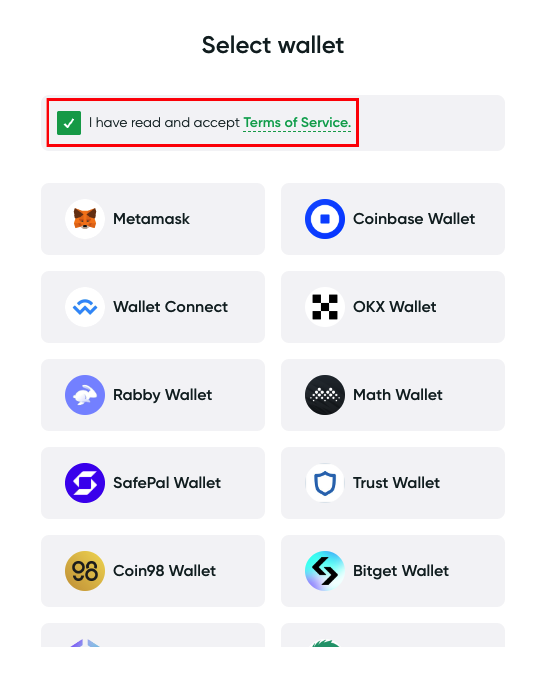
**Step 2:** Thoroughly read and accept the Terms of Service, then select your wallet from the available options.
**Step 3:** Enter the amount of SD you wish to Delegate to the SD Utility Pool. Once the delegation amount is entered, click on the “Delegate SD” button.
**Step 4:** Read the disclaimer thoroughly by clicking on the "[Please read more](https://stader.gitbook.io/stader/sd-utility-pool/disclaimer)" link, and confirm that you have read it by clicking on the checkbox. If everything looks good, proceed to click on the “Delegate SD” button to delegate your SD.
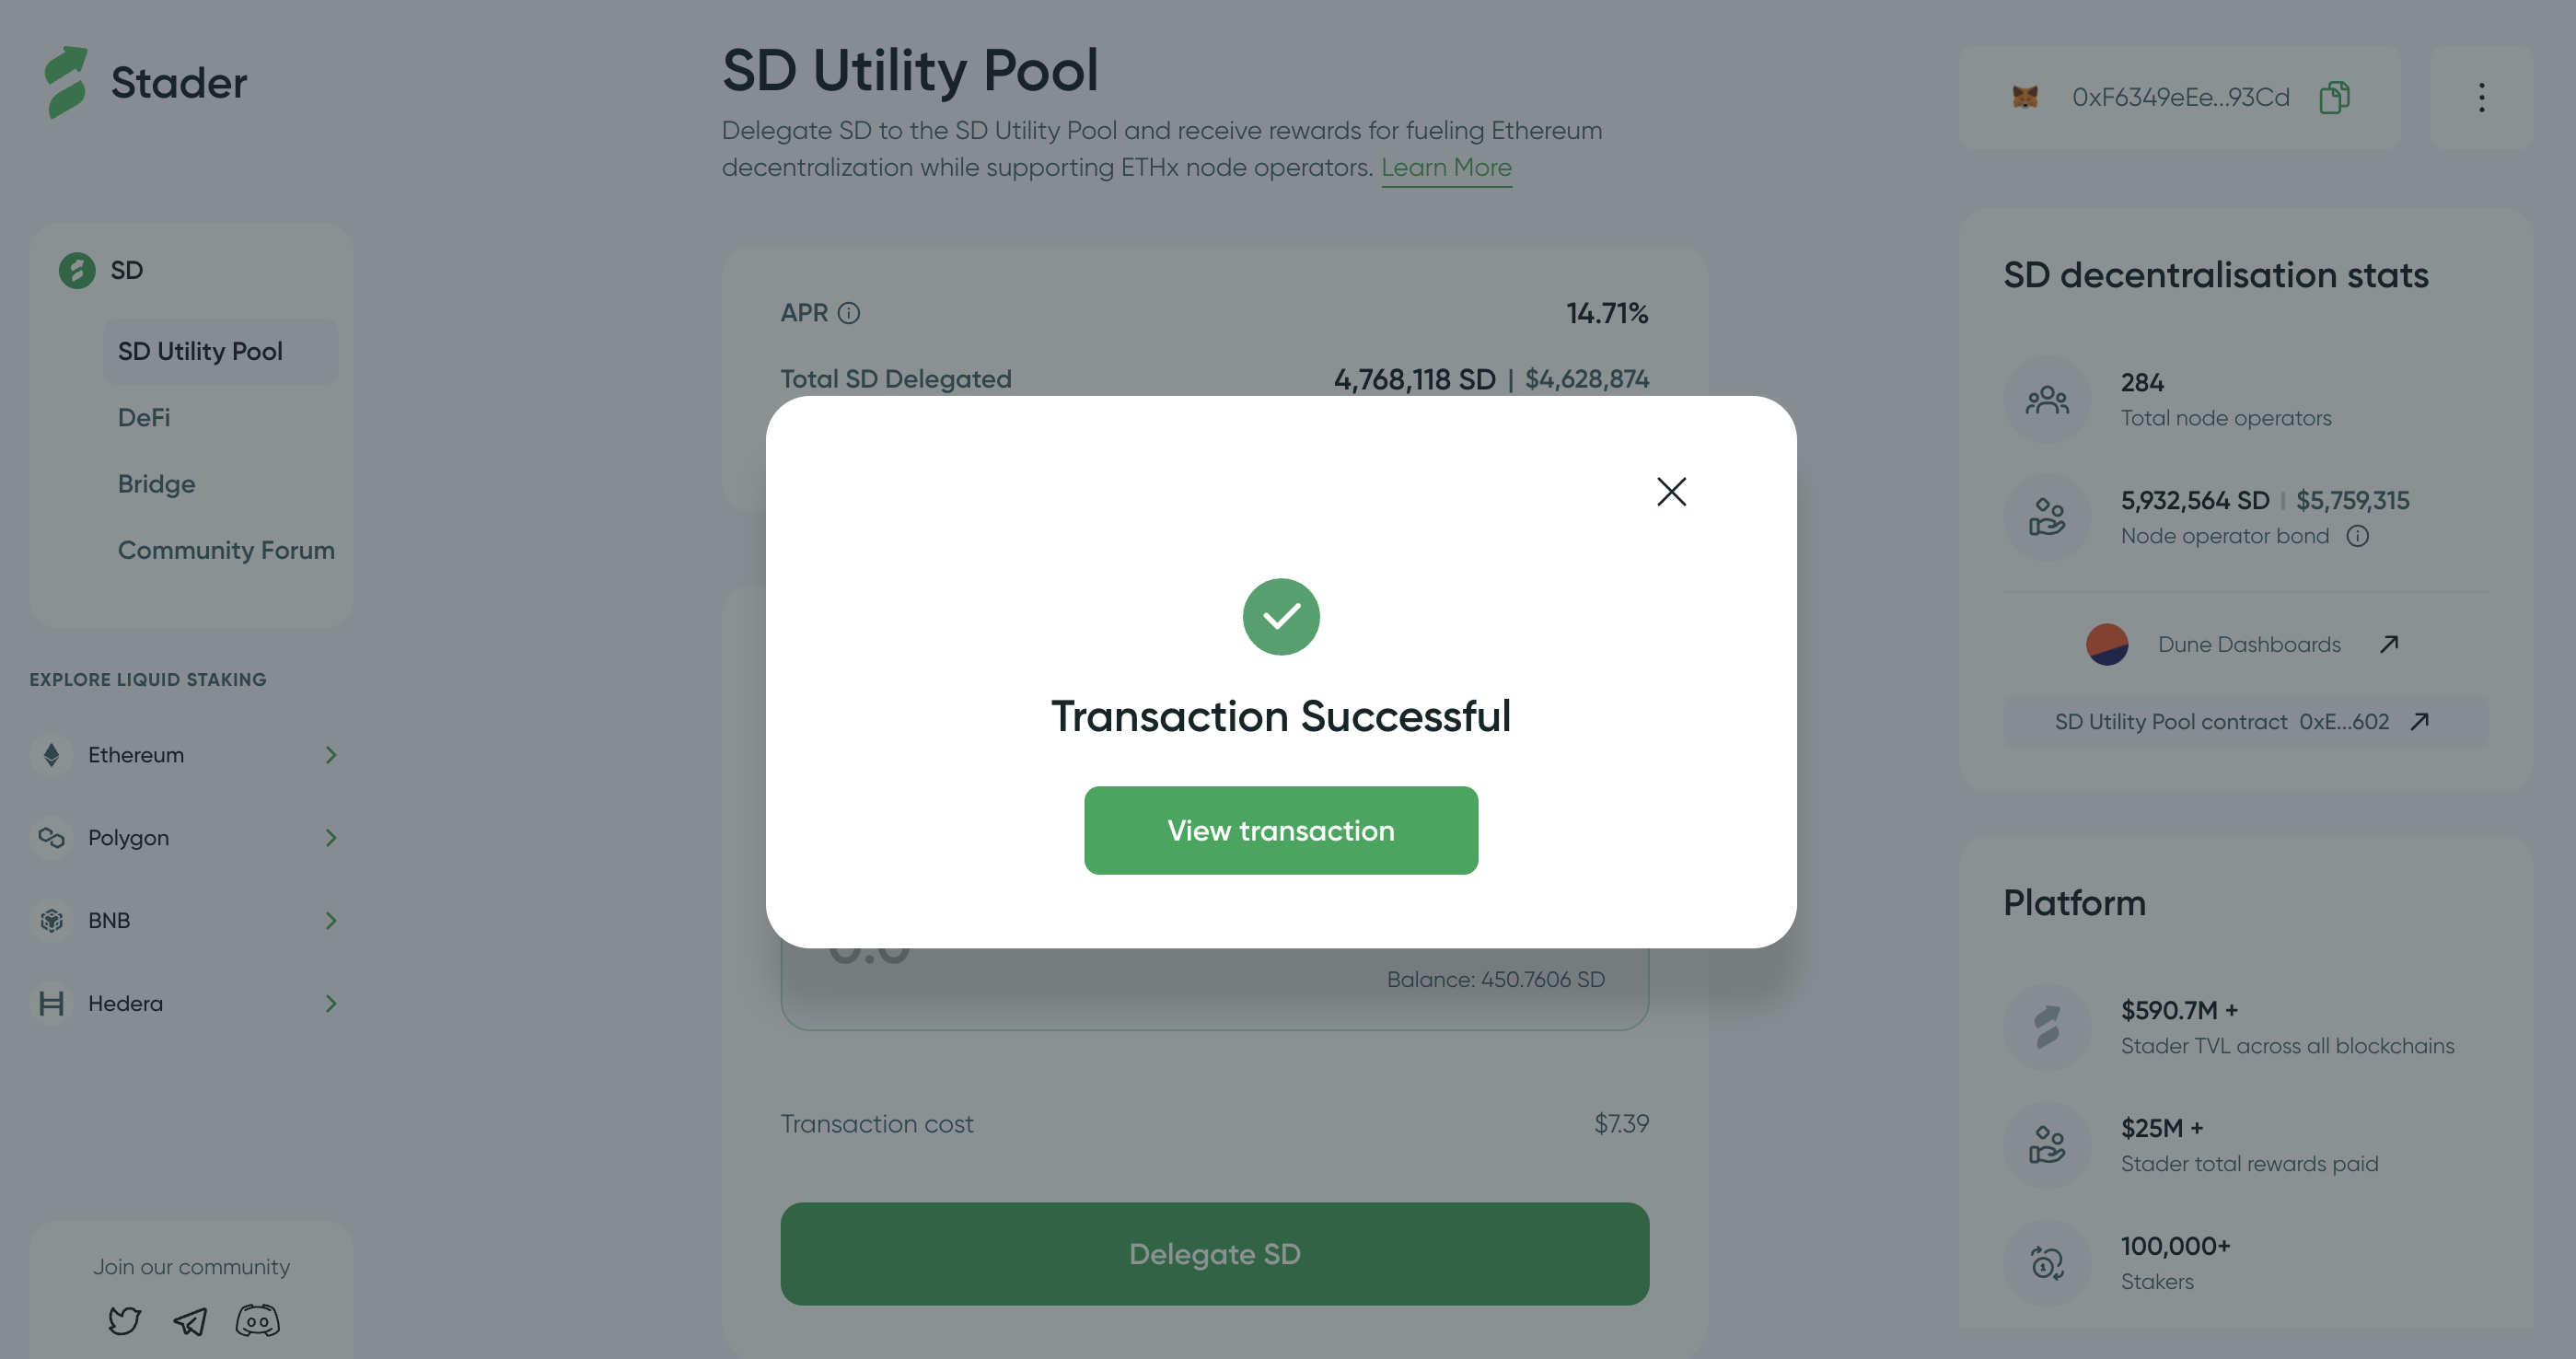
**Step 5:** Sign the transaction in your wallet and that’s all! Once successful you should see the confirmation screen.